Getting ready
For this recipe, you will need two VMs, each with at least two vCPUs, 8 GB of RAM, and 50 GB of disk space. You should have Oracle Linux 8 installed, and also a third IP address for a floating VIP to be managed by the cluster. Both of the web servers will be patched to the latest software. For this example, the following IPs will be used:
| Host | IP |
| Web1 | 192.168.56.200 |
| Web2 | 192.168.56.201 |
| vip | 192.168.56.204 |
Table 6.5 – HA cluster IPs
Before we start with the cluster, you will also need to set up an httpd (Apache 2.4) server on each host. This is similar to other hosts set up in other recipes.
First, on both servers, as root, install the Apache web server:
dnf -y install httpd
We do need to enable the status page for Apache. This is one way the resource will be checked. To do this, copy the following lines into /etc/httpd/conf.d/status.conf:
<Location /server-status>
SetHandler server-status
Order Deny,Allow
Deny from all
Allow from 127.0.0.1
</Location>
We also need a simple web page. For testing purposes, put the following into /var/www/html/index.html on both servers.
Note
When setting up an application such as a web server, putting your content directory (such as /var/www/html) on a Gluster filesystem makes it easier to manage updating your content. This also works for other data that the application uses, such as temporary state data.
Next, on both servers, add port 80 to the local firewall with the following command:
firewall-cmd –permanent –add-service=http; firewall-cmd –reload
Now, for testing purposes, manually start the server on both nodes. Do not enable the service to automatically start. This will be done later when Pacemaker is configured:
systemctl start httpd
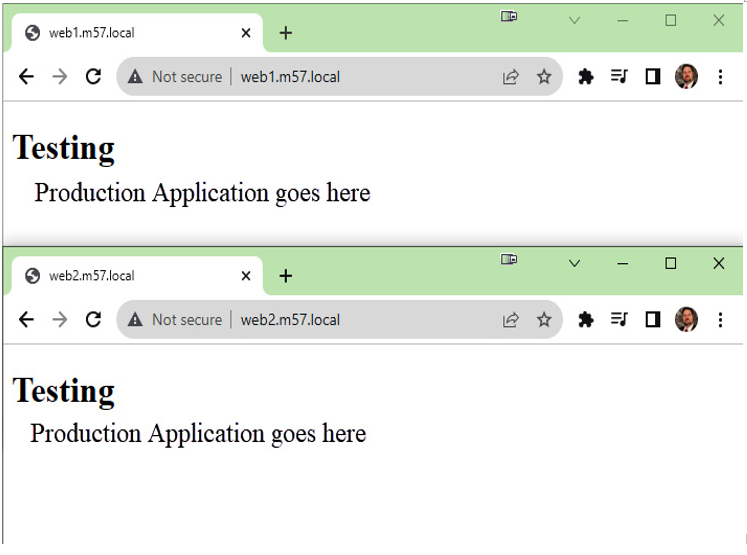
You should now see a basic page on both servers, as shown in the following screenshot:

Figure 6.15 – httpd server test
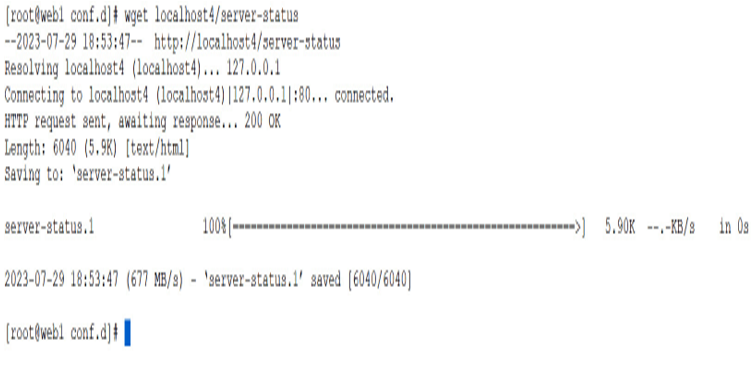
You can also test the server-status page using the wget command:
wget localhost4/server-status
Sample output of a success is seen in the following screenshot.

Figure 6.16 – Successful server-status
You are now ready to install and configure Pacemaker and Corosync.
How to do it…
Now that you have installed the Apache httpd server that we will cluster, let’s start by installing the software. First, we need to enable the addons repo. This is done with the following commands on both servers as root.
First, on both nodes, enable the repo with the following commands as root:
dnf config-manager –enable ol8_addons
Then, you will install the software:
dnf install -y pacemaker pcs
Once the installation of these packages is complete, a new user named hacluster will be added to your system. Please note that remote login will be disabled for this user after installation. To carry out tasks such as synchronizing the configuration or starting services on other nodes, it is necessary to set the same password for the hacluster user on both nodes. We can use the passwd command to set the password:
passwd hacluster
Next, we need to enable the pcs service and start it:
systemctl enable –now pcsd.service
Next, we need to open up the firewall for the cluster port. This is done with the following command:
firewall-cmd –permanent –add-service=high-availability ; firewall-cmd –reload
Now we’re done with both nodes for a bit. The next few commands can be done on either of the nodes, but note, you still should be root.
Next, we need to add both nodes to the cluster:
pcs host auth web1 web2 -u hacluster
