Note
If your nodes are not resolvable in DNS or the /etc/hosts file, you can optionally add addr=$IPADDR for each host after the hostname. But it’s highly recommended to make sure all hosts are resolvable. This option, if used, would look as follows:
pcs host auth web1 addr=192.168.56.200 node2 addr=192.168.56.201 –u hacluster
Next, we will create the cluster:
pcs cluster setup webapp web1 web2
Now, we can start the cluster:
pcs cluster start –all
To verify that the cluster is running, we can check with the pcs command:
pcs cluster status
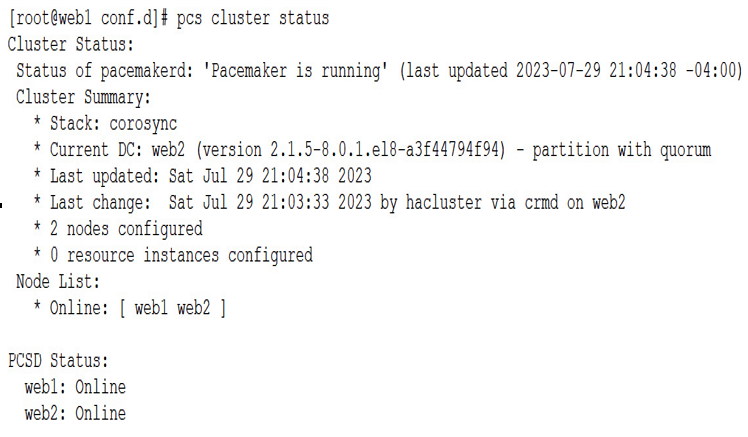
A healthy new cluster should return a similar output as the following example:

Figure 6.17 – Cluster status
In a cluster consisting of only two nodes, the quorum operates differently than in clusters with more nodes. In such a cluster, the quorum value is set to 1 to ensure that the primary node is always considered in quorum. If both nodes go offline due to a network outage, they compete to fence each other, and the first to succeed wins the quorum. To increase the chances of a preferred node winning the quorum, the fencing agent can be configured to give it priority. This is done with the following command:
pcs resource defaults update
The last step is to disable STONITH, which stands for Shoot The Other Node In The Head. This is an advanced fencing tool that requires configuration specific to your environment. If you want to experiment with this technology then check out the official Oracle docs here – https://docs.oracle.com/en/operating-systems/oracle-linux/8/availability/availability-ConfiguringFencingstonith.html#ol-pacemaker-stonith:
pcs property set stonith-enabled=false
To set up a cluster, we’ll need to create resources. A resource agent name has two or three fields separated by a colon. The first field is the resource class that indicates the standard followed by the resource agent and helps Pacemaker locate the script. For example, the IPaddr2 resource agent follows the Open Cluster Framework (OCF) standard. The second field varies based on the standard used, and OCF resources use it for the OCF namespace. The third field denotes the name of the resource agent.
Meta-attributes and instance attributes are available for resources. Meta-attributes are not resource-type dependent, while instance attributes are specific to each resource agent.
In a cluster, resource operations refer to the actions that can be taken on a specific resource, such as starting, stopping, or monitoring it. These operations are identified by the op keyword. To ensure the resource remains healthy, we will add a monitor operation with a 15-second interval. The criteria for determining whether the resource is healthy depends on the resource agent being used. This is also why we enabled the server-status page on the httpd server, as the httpd agent uses that page to help determine the health of the system.
So, let’s add the VIP address:
pcs resource create AppIP ocf:heartbeat:IPaddr2 ip=192.168.56.204 \
cidr_netmask=24 op monitor interval=15s
Next up, we will add the httpd server:
pcs resource create AppWebServer ocf:heartbeat:apache \
configfile=/etc/httpd/conf/httpd.conf \
statusurl=http://127.0.0.1/server-status \
op monitor interval=15s
Now that we have two resources, we also will need to tie them together as a group. With most applications, multiple resources need to be on the same physical server at the same time. This could be IP addresses, Tomcat servers, httpd servers, and so on. We are going to call this group WebApp and add both the VIP and https servers to it. Each resource is added individually, so two commands will need to be run:
pcs resource group add WebApp AppIP
pcs resource group add WebApp AppWebServer
Now, we will use the pcs status command to check the configuration:
pcs status
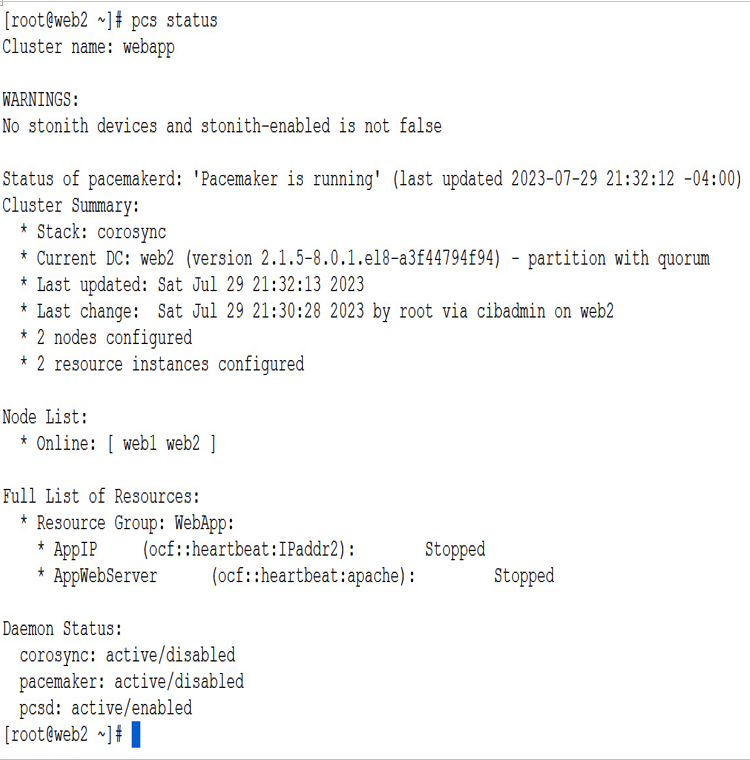
The output is as follows:

Figure 6.18 – pcs status
We can now see the cluster, with its resource group, WebApp, with both the server VIPs.
How it works…
Now that everything is configured, let’s start up the resources and manage them. We can first start the entire cluster. This will online all nodes in the cluster:
pcs cluster start –all
We can also set up the cluster to start on boot with the following commands:
systemctl enable –now corosync
systemctl enable –now pacemaker
You will need to run both of these commands as root on both nodes.
Next up, let’s look at a few useful commands.
Sometimes a resource gets broken; maybe it was a bad config file, or maybe you started a resource outside of the cluster control, confusing the cluster. Once you fix the issues, you will likely need to refresh the resource. This will tell the cluster to forget about the failure and restart the service clear of any errors:
pcs resource refresh AppWebServer
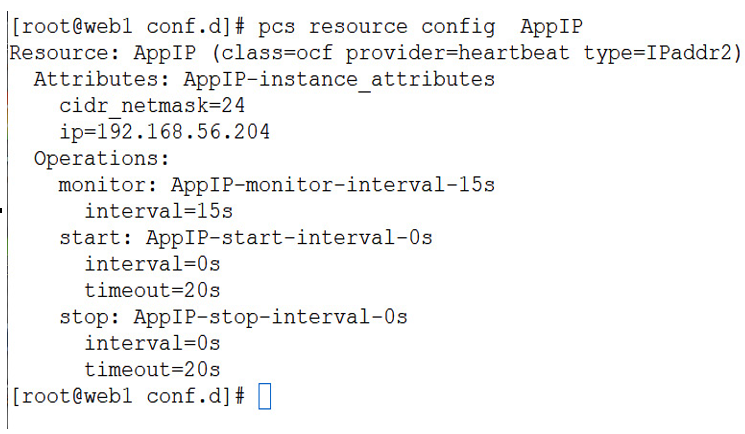
You also can check the details of a resource, using the config option. This is helpful if you forget how the resource was configured. An example is seen in the following figure:

Figure 6.19 – Resource configuration
Next, let’s move WebApp to server web2:
pcs resource move WebApp web2
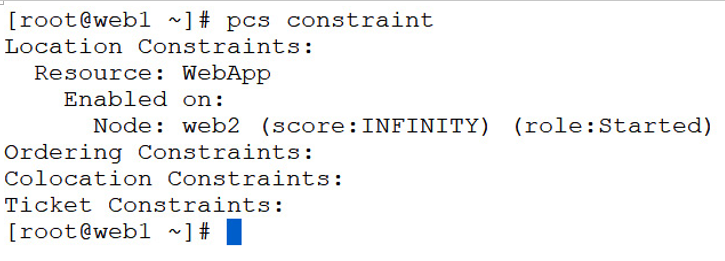
When you run move, you can also monitor the move by checking the constraints. This is a little cleaner than using the pcs status command:
pcs constraint
The output is as follows:

Figure 6.20 – Cluster constraints
The power of the Pacemaker/Corosync technology is its flexibility. You can cluster just about anything with it, making it a powerful tool for the sysadmin.
