Web servers
For both web servers, we will install Apache, using the following commands as the root user:
dnf install httpd -y
We next need to enable port 80 to pass through the firewall, with the following command:
firewall-cmd –permanent –add-service=http; firewall-cmd –reload
We then need to start the server and make it start on boot. This is done with the following command:
systemctl enable –now httpd
We now need to put in a basic home page for this server.
Note
Depending on your environment, you may need to edit the Apache config file in /etc/httpd/conf/httpd.conf to specify your servername. In the config file, it will be a single entry on a single line, like the following:
ServerName server.m57.local:80
This needs to go into /var/www/html/index.html. The following is an example file. Adjust the text as needed so each server is unique. This way, you can see what server is being hit:
<!DOCTYPE html>
<html>
<body>
<h1> Running on web1</h1>
</body>
</html>
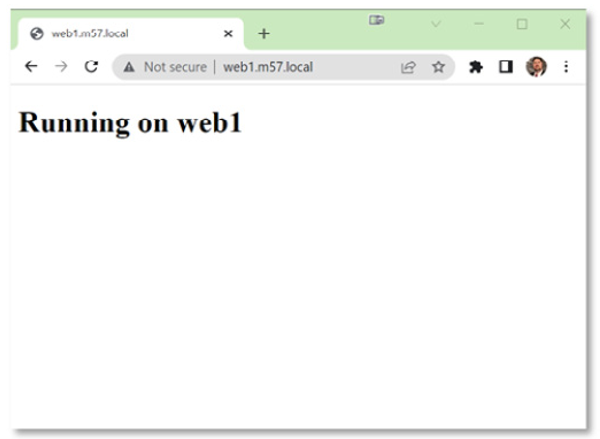
Next, point your browser to the system to test it:

Figure 6.2 – Simple website
Next, repeat the process on the other web server. Once that system is up, we will set up the load balancer.
Note
If you are using httpd (TLS/SSL) on your server, don’t forget to enable https in your local firewalls as well.
Load balancer
For the single load-balancer system, we will need to install HAProxy. This is done using the dnf command as root:
dnf install -y haproxy
We next need to open up port 80 in the firewall with the following command:
firewall-cmd –permanent –add-service=http; firewall-cmd –reload
Next, we will need to edit the config file. The config file is located in /etc/haproxy/haproxy.cfg.
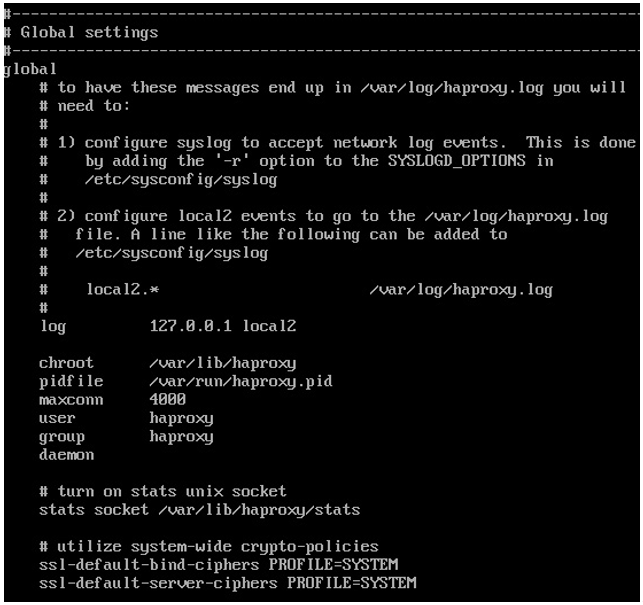
The config file has two main sections, global and defaults. There can only be a single global section in the config file. This is where TLS/SSL config data, the logging configuration, and the user and group settings go for the user running haproxy. By default, haproxy runs as the user haproxy with the group haproxy. For most use cases, the global section should not need to be changed. An example is seen in the following figure:

Figure 6.3 – HAProxy global settings
The next section, called the defaults section, is where you will make most of your edits. This is built using three subsections: frontend, backend, and listen.
The frontend section listens on all IP addresses and ports that are defined. This is what users will connect to. A HAProxy server can have multiple frontend sections, though each one needs a unique name and IP/port combination.
The backend section defines the servers being load balanced to, defining the load-balancing method as well as the servers and ports where traffic is being sent to. A HAProxy server can have multiple backend sections, though each one needs a unique name.
The listen section is used to define how you can monitor the load balancer, with the port, URI, and authentication information needed to monitor HAProxy. Normally, you will only have one listen section.
For the same frontend, we will be listening on port 80 of the lb1 system, called www_app, and will define this IP/port combination to use the www_servers backend.
